
Our very successful journey and process to achieving the perfect kitchen island for our kitchen without breaking the bank or clogging up too much space!

Chris and I had toyed around with the idea for a while, do we get a kitchen island or not? Do we put a runner rug down and have no island, or both?
After hours and hours of searching online and struggling to find a kitchen island that wasn’t massive and bulky I felt like giving up. A runner rug in the kitchen seemed silly, it would just get dirty and ruined.
We finally decided on an island for functionality and so I would be able to shoot more food projects for you guys!
The important things to me for finding the perfect island was: mid century look, all white so there wasn’t mis-matched wood (that drives me CRAZY), slim width, about counter-height and I wanted it to be open so it wasn’t big and bulky. And to be honest I wanted a shelf so I could put cute books and plants and style it lols.
We found the Compass Kitchen Island on West Elm’s website for $500 (marked down from $999). It was nearly PERFECT and it came in all white, except the dimensions were much too big for what we were looking for, and frankly I didn’t need to spend that much on a simple piece of furniture. I was determined to find the same look for less!
I found a few mid century media console tables that were nearly identical to the West Elm one, that were slimmer in width and a fraction of the price! I decided I could easily paint it white and customize it to my desire. Customizing pieces is always my favorite route to go, because then your home has something one-of-a-kind that you worked on! It’s such a rewarding feeling.
I’ve linked the brand we bought and a few different styles that are stoppable below:
Here are the steps we took to create this beautiful island!
- Go island shopping! Some recommended styles like ours are shoppable below. (ugh, unfortunately not the tropical kind!) Find the right island for you. Make sure to measure your counter height. Ours ended up being a few inches shorter than our counter tops, but you can easily buy furniture pads on Amazon here to give it a little boost.
- When it arrives, take all of the pieces out of the box. You will need the following supplies:
- Tack cloth to remove dust
- Drop cloth
- Painters pyramids
- Sand paper (light and medium grit)
- Paint brushes
- Paint roller
- Painters tape
- Tape measurer
- White furniture paint, we used the leftover cabinet paint from our kitchen
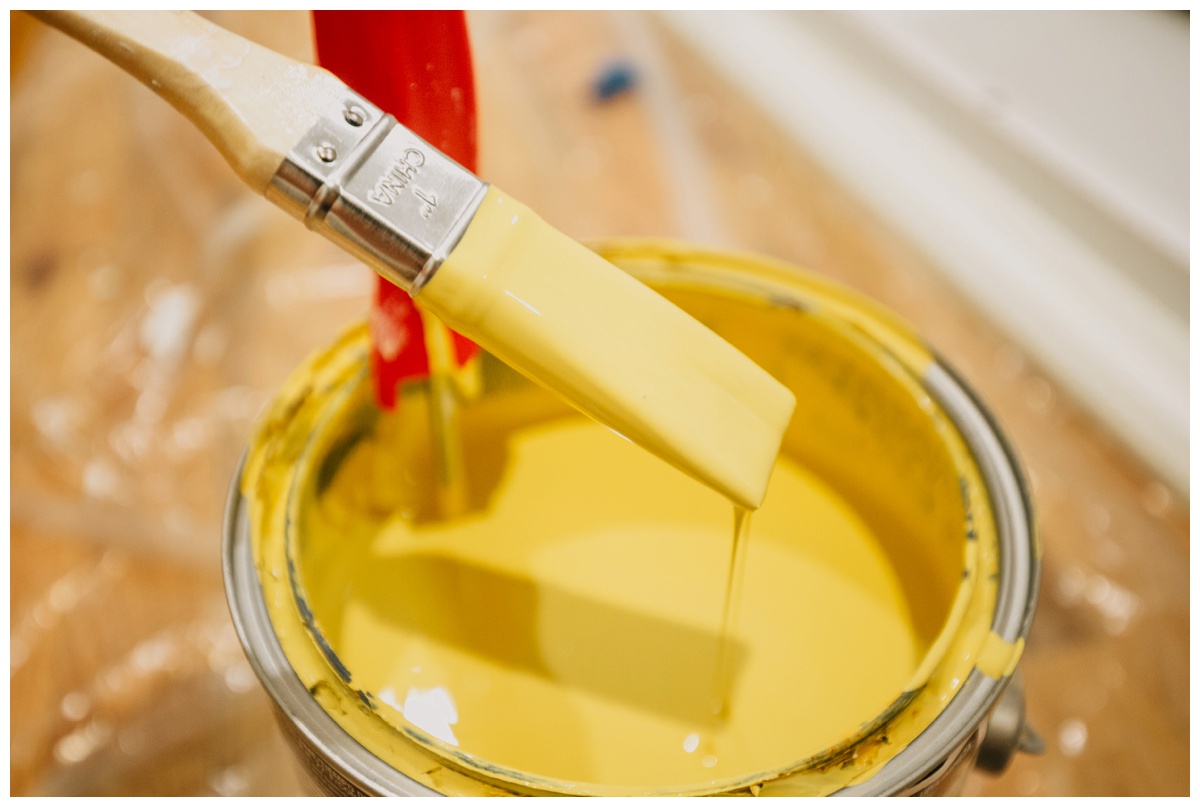
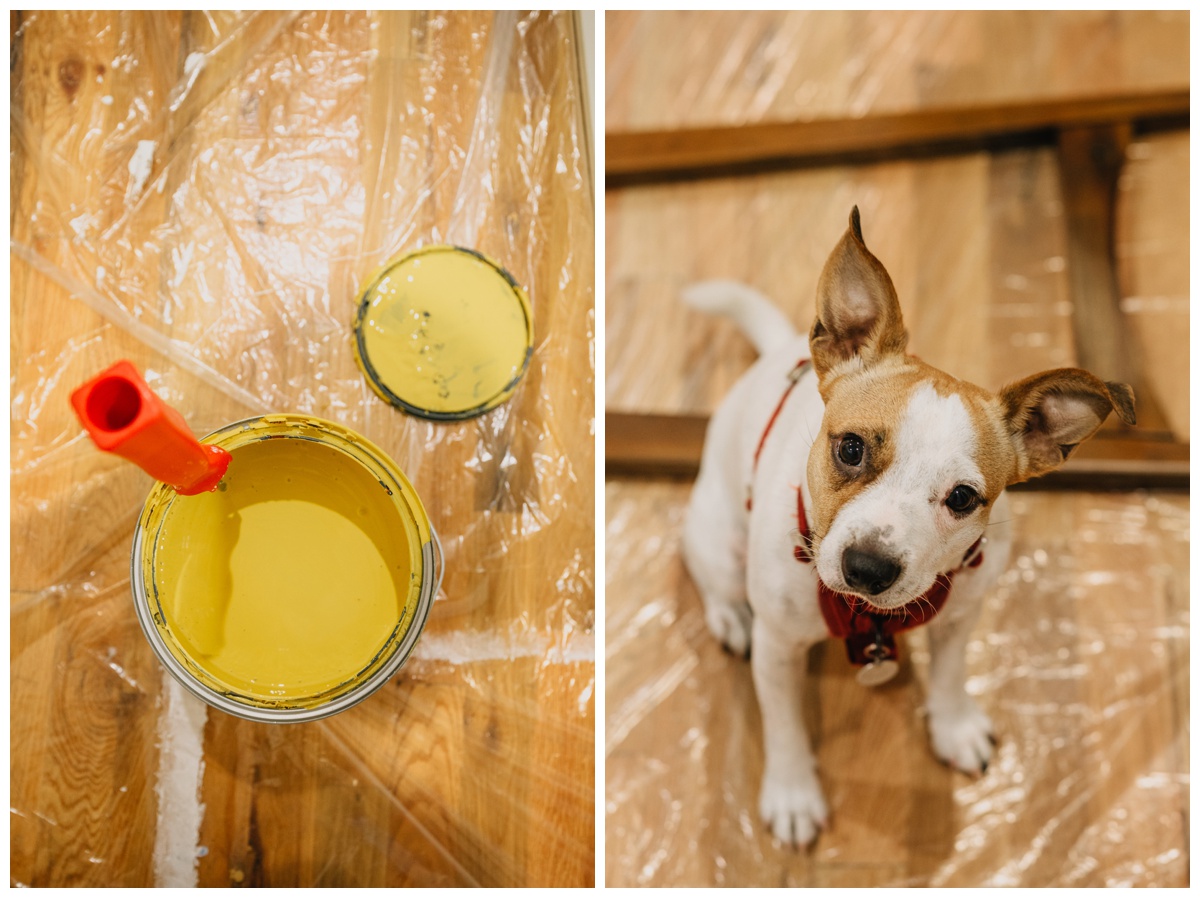
- Colored accent paint (optional), we used the leftover yellow from our living room
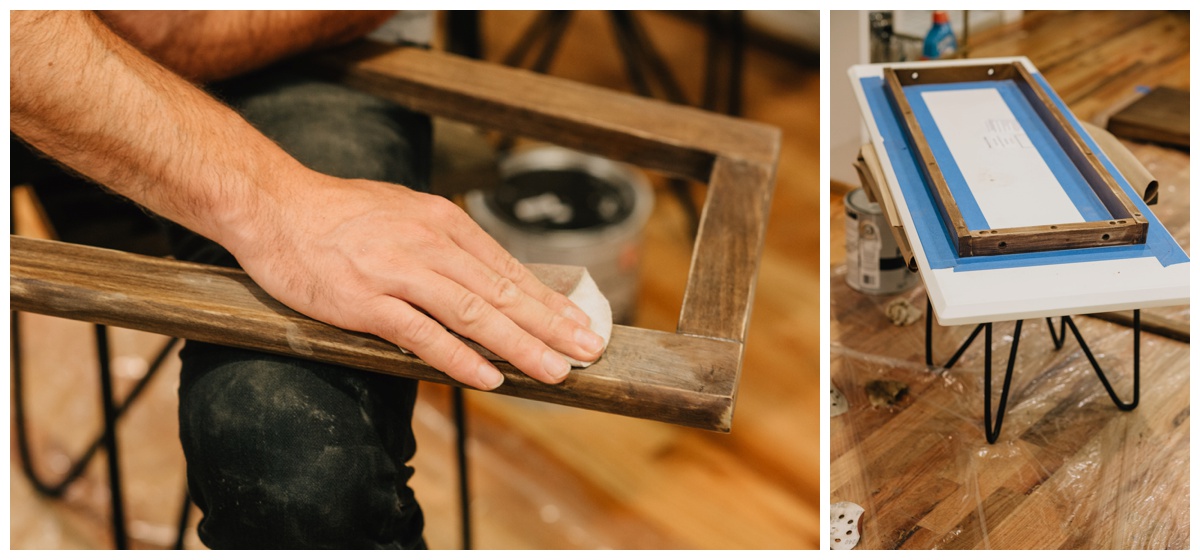
- Start by sanding each piece lightly (don’t go hard on the edges!) you just want to take off the very top layer and give it a little grit so the paint will stick.
- Wipe with tack cloth so all of the dust from sanding is removed.
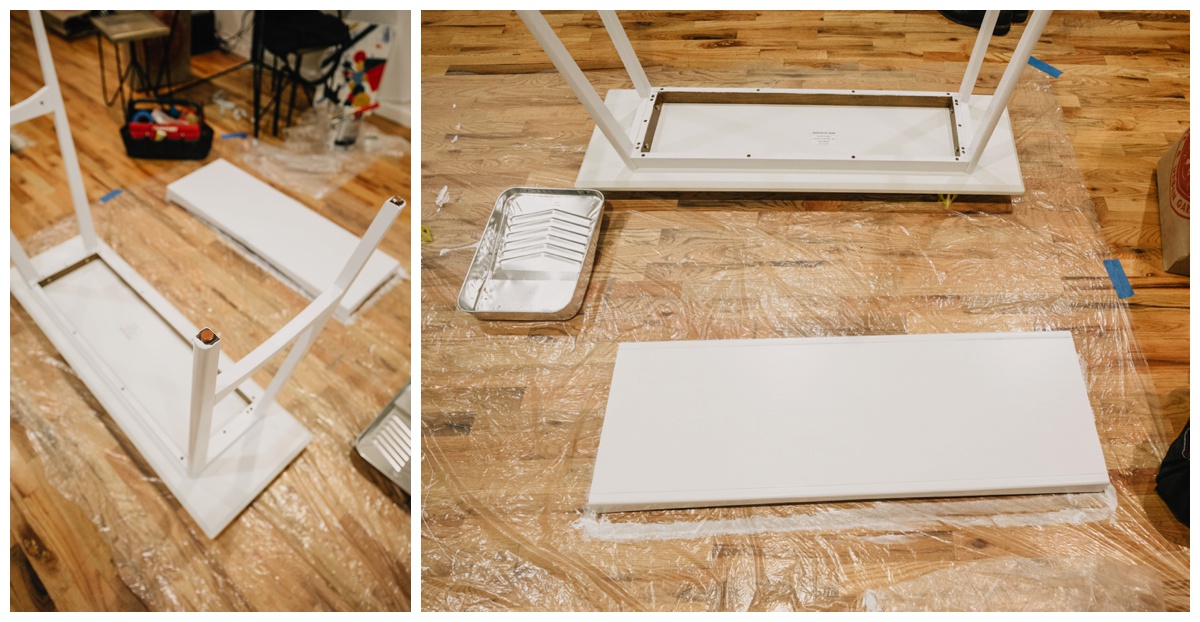
- Lay pieces on painters pyramids. Take your paint roller and start painting the pieces white! You can use a paint brush for grooves. Make sure your strokes are fluid and all going the same direction. Don’t overload your paintbrush otherwise you’ll get drips.
- I recommend 3 coats of white paint, that’s how many we used! Each coat only took around 30 minutes to dry. You can finish the entire table in one day if you really want to!
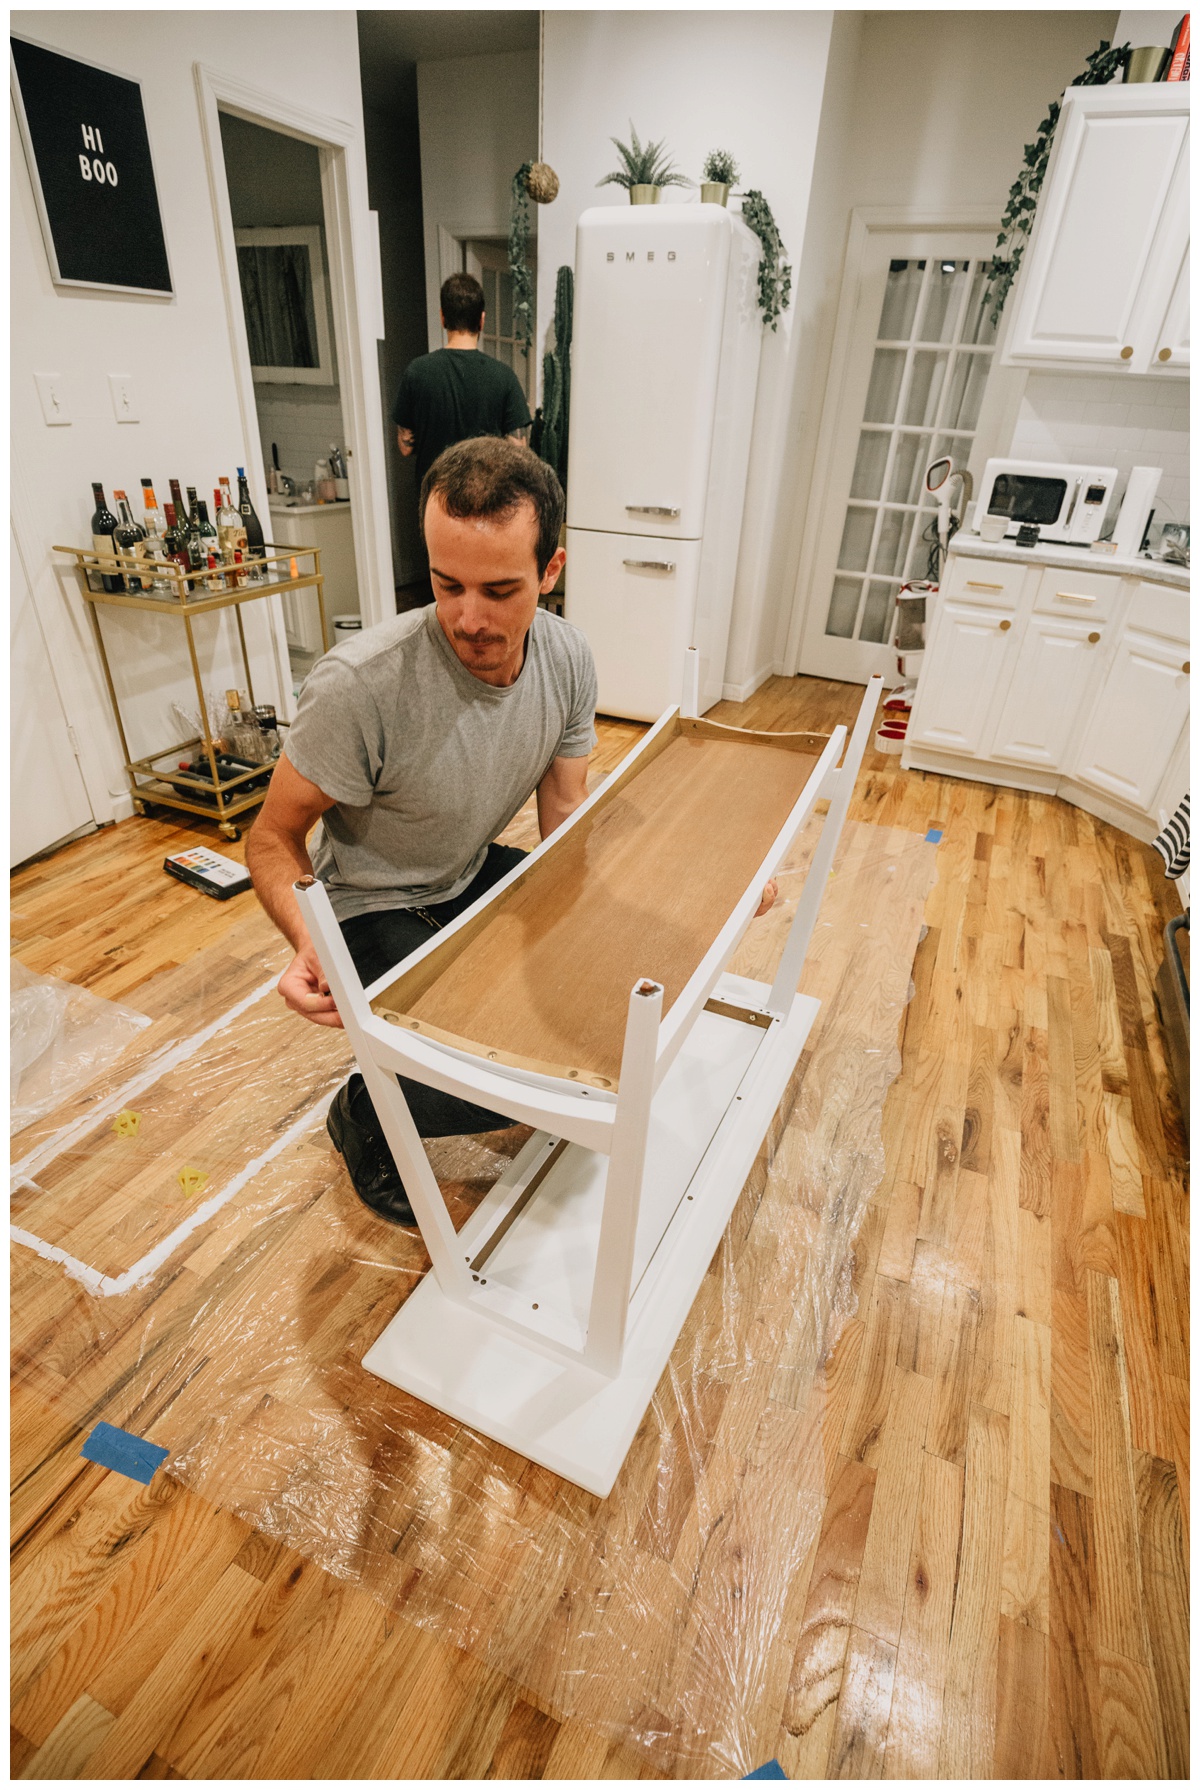
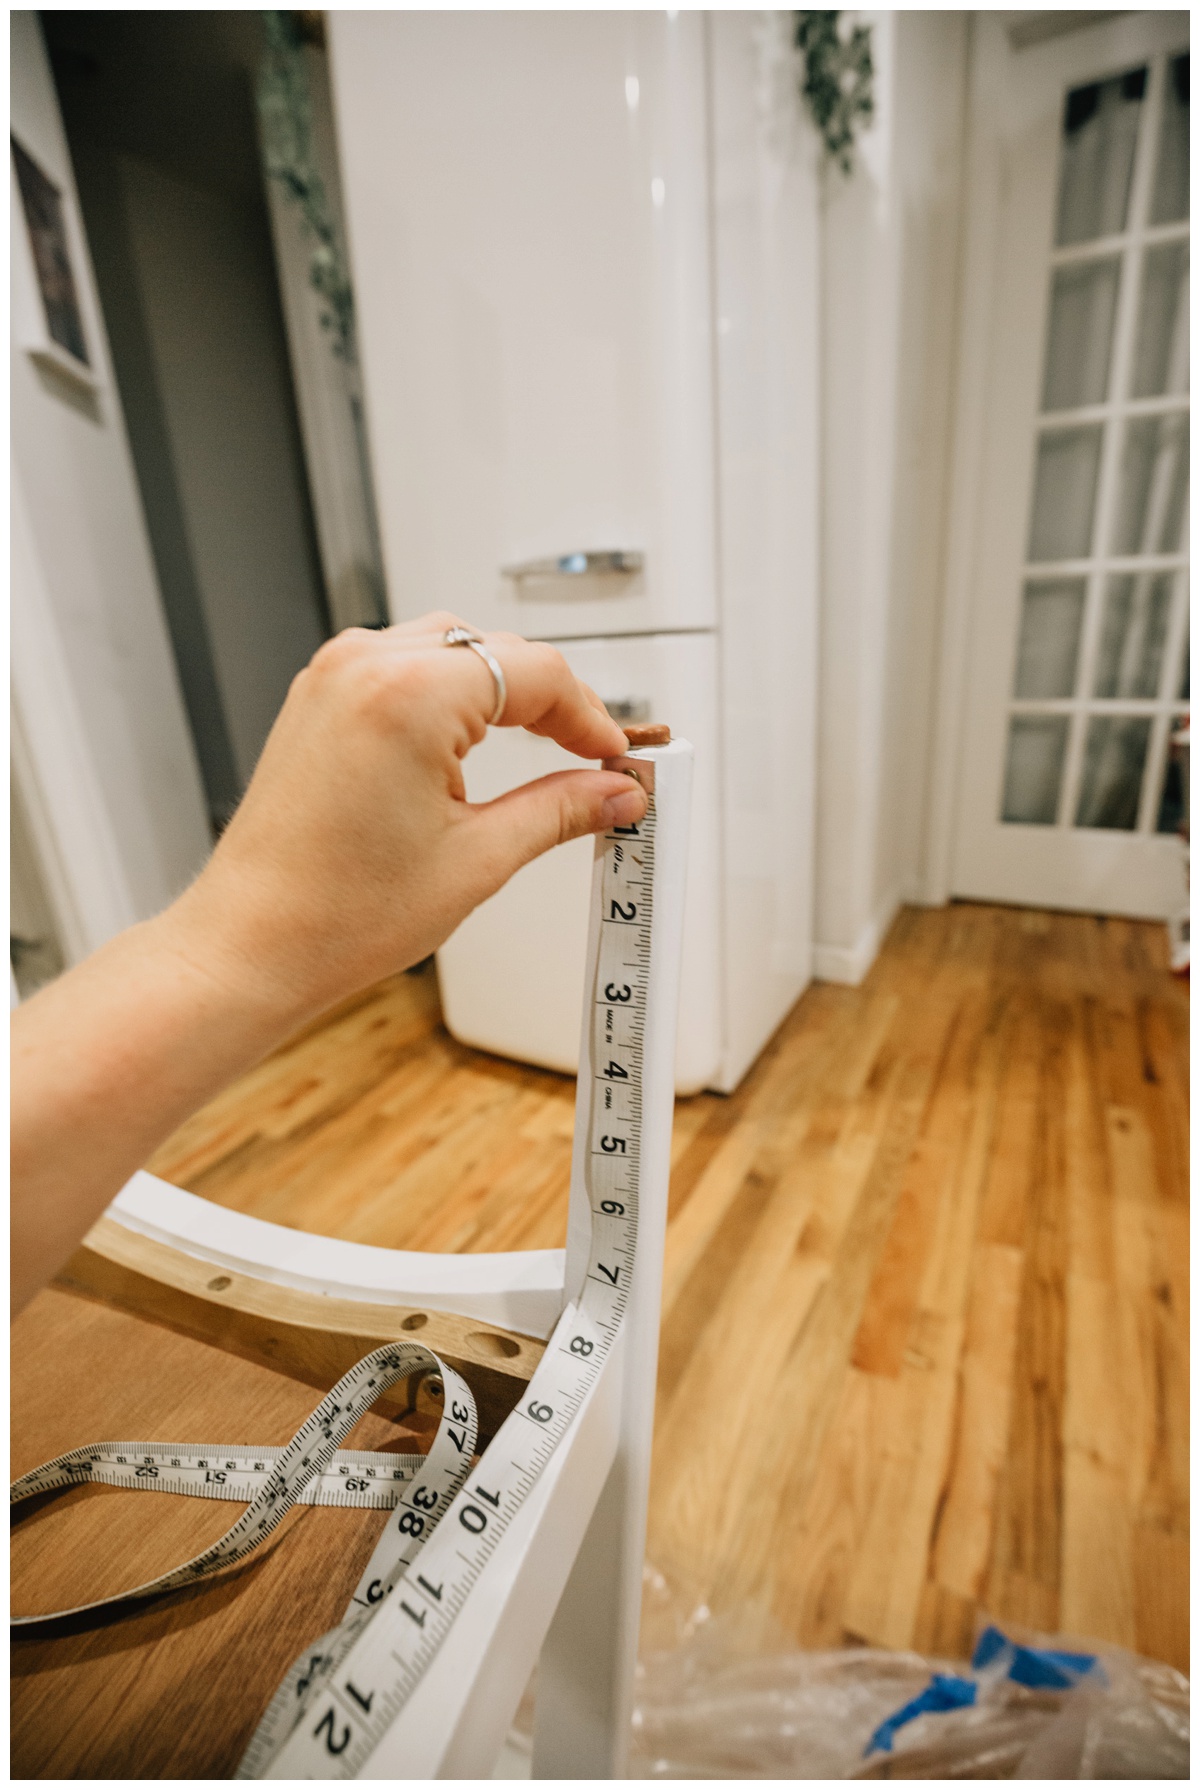
- Once that’s all dry, we assembled the table. We flipped it on its back and began to measure the legs for the yellow tips.
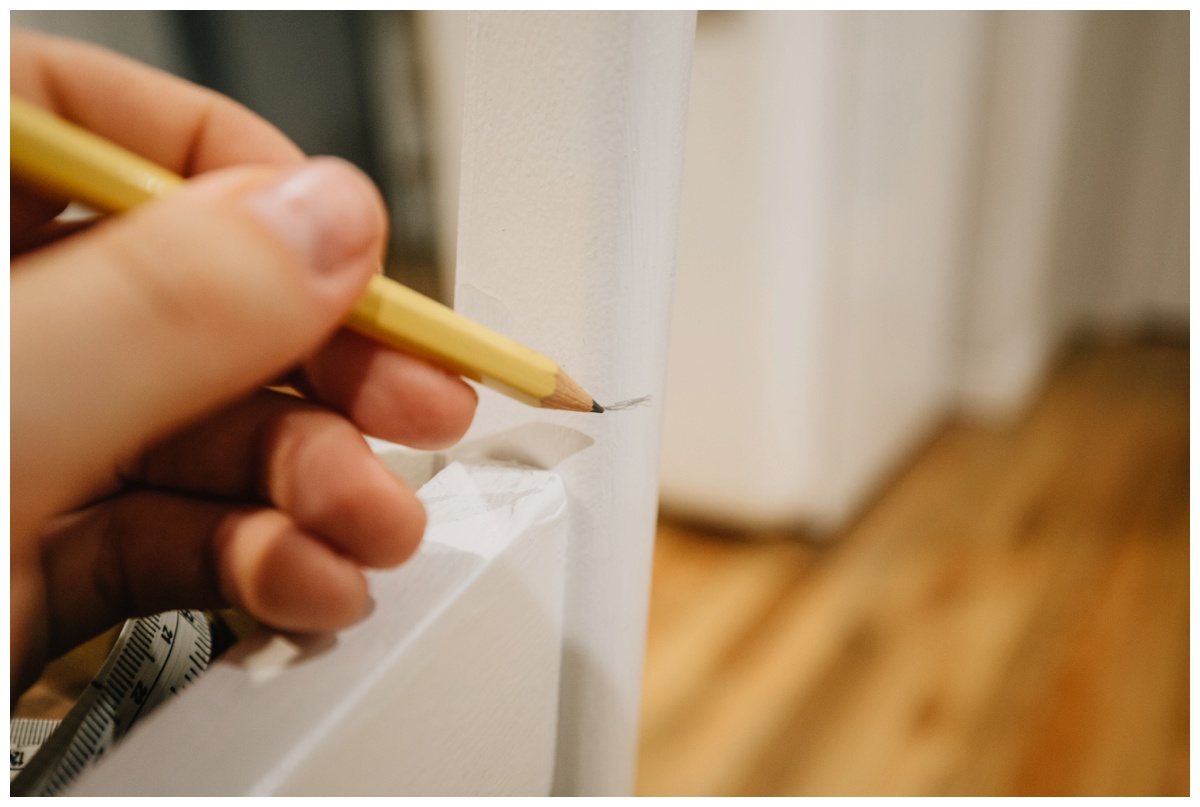
- I measured and marked 7 inches down on each leg with a pencil.
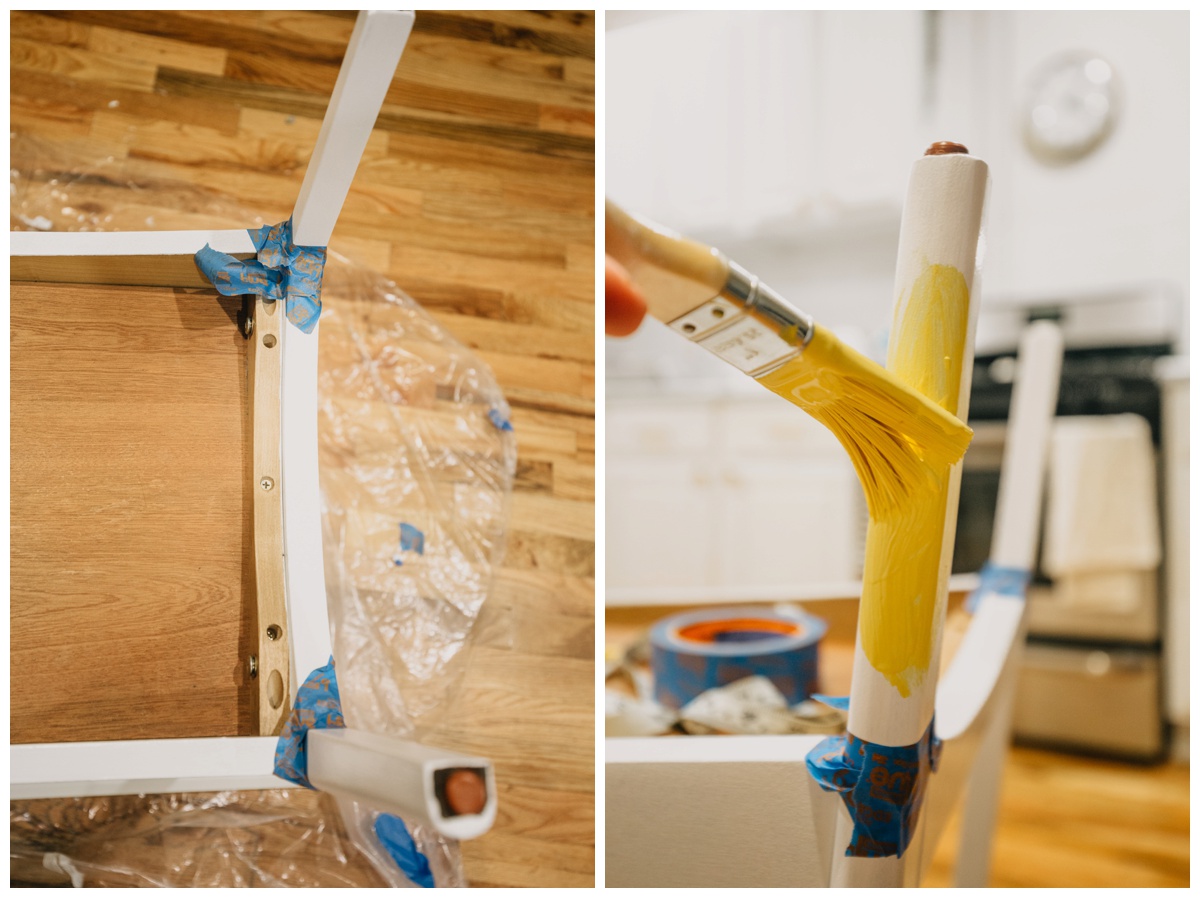
- Tape around the leg and make sure to press the tape in tight so the paint can’t get underneath. I tore off some smaller pieces to make sure the line was straight the entire way around the leg. This step takes a few pieces of tape to be perfect!
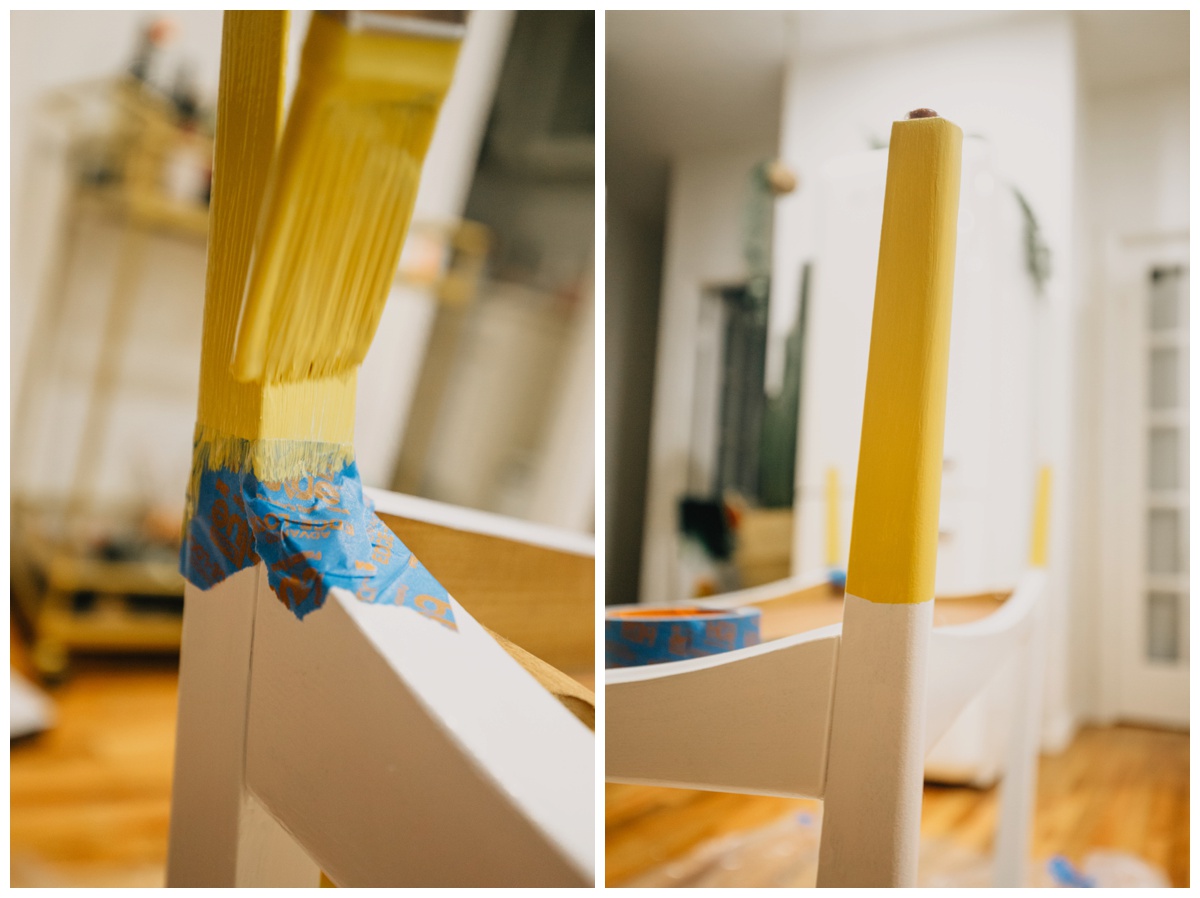
- Take a small brush and start to apply your accent color. I did three coats per leg. I didn’t load up my brush too much to avoid drips and accidents. When painting by the tape, paint upward not downward to avoid paint going under the tape.
- Let the accent color dry, do as many coats as necessary.
- Remove the painters tape and voila!
We chose the yellow from the wall to tie in the living room with the kitchen, and bring a little pop of color into the room. I’m so obsessed! Obviously keep in mind since this is NOT an actual kitchen island, the surface can not be used to cut on or to set hot items on. Of course you could put a cutting board on top of it though! This is more for extra space for parties etc! It also gives the kitchen some dimension which I love.
I hope you guys liked this tutorial! Let me know if you would like more. Love you guys!






Lauren
• 6 years agoI absolutely adore the island and that mustard color!! I also love the new site design its absolutely perfect on functionality + style… Happy to hear about the potential for food projects, too! Just love it all is basically what I’m trying to say! Lol keep killin’ it girl!
Lauren recently posted…FAMILIES BELONG TOGETHER
dough sheeters
• 6 years agoDo no more of preparing your party Caterers can provide all the necessary requirements for your event.
Didu
• 6 years agoGreat article! Finn looks like a teddybear omg I’m done haha <3
ANDY MARTIN
• 5 years agoI am completely stunned and thrilled by your amazing article cause the way you have submitted the data over here is blown my mind away.Couple of days back i was really seeking for these information but didn’t find mind soothing data anywhere .One after another failed attempt and surfing the internet continuously i have got you but lately.I have really liked the art of presentation of paint but i really want more details information like which particular brand i really need to go for these stuffs, Can you recommend? Highly appreciation for your amazing professionalism and great patience.
Jack
• 3 years agoI am just fell in love with your kitchen garden really well maintained, furnished and beautifully decorated.
Harry
• 3 years agoWow Your kitchen is so amazing, always keep your kitchen hygienic and maintained specially the plumbing system which is key in your kitchen.
Mark
• 2 years agoShould i use vacuum bags for food preservation? As there is power issue in my electricle issue refrigrators.
Arther Cramer
• 1 year agoGreat.. Best informative. The perfect kitchen island is not just a stylish addition to your kitchen, but it can also provide valuable workspace and storage. As a homeowner in Utah County, it’s important to consider all aspects of your kitchen island installation, including plumbing. That’s where the expertise of plumbers Utah County comes in. A qualified plumber can help ensure that your kitchen island is not only functional but also properly connected to the plumbing system. So if you’re considering adding a kitchen island to your home, don’t forget to enlist the help of skilled plumbers in Utah County to ensure a smooth installation process.
Jelly
• 1 year agoWow, this post on “The perfect kitchen island” couldn’t have come at a better time for me! I’ve been planning my own kitchen remodeling project and have been searching for inspiration and ideas to make the most of the available space.
I must say, the kitchen island you’ve featured here checks all the boxes! Not only does it provide ample storage and workspace, but it also serves as an incredible focal point, tying the entire kitchen together. I absolutely love how the island integrates functionality with aesthetics, making it both practical and visually appealing.
James
• 1 year agoVery perfect Kitchen Pics, while desecrating home always hire dustless flooring removal. They are best for dustless flooring removal, bathroom demolition and kitchen demolition.
saily
• 1 year agoYour kitchen furniture looks very good and well manage. When I had to about to buy a house. I was mostly worried about the kitchen because house wife’s spend most of time in the kitchen. So I want a house with perfect kitchen and finally found Premium home builder. They have vast variety of the house plan with great kitchen. If anyone of you in Utah, want to have best house with great kitchen must visit them. Thank you!